Planning on doing a DIY tattoo at home, or are you a beginner tattoo artist? In either case, learning how to make a tattoo stencil is sure to prove helpful. Making a tattoo stencil yourself may at first seem complicated. Yet, if you follow the steps given in this article in no time, you’re sure to craft an efficient, structured pathway while tattooing.
While many professional tattoo artists may comfortably freehand a tattoo, for others, however, knowing how to make a tattoo stencil first is recommended. A tattoo stencil aids in the accurate transfer of the tattoo design from paper to the skin. One motivation for creating your own tattoo stencil may be to test out the design before considering it final. That said, with some practice, you’ll be able to refine your accuracy and discover that making a tattoo stencil at home is easier than you imagined.
When creating a tattoo stencil at home, the steps involved are similar to the preparation of a tattoo stencil by a professional tattooist at a tattoo parlor. The only difference is since you’re only planning to test the designs, the extra preparation of cleaning and shaving the skin may not be part of the steps at home. Such skin area preparation steps for transferring the design from paper to your skin more accurately are best left for the professional tattoo artist to do at the parlor.
How To Make A Tattoo Stencil?
Making a tattoo stencil at home is a simple process. The tattoo stenciling process merely involves transferring an image you created onto transfer (or tracing) paper and finally onto the skin. For any level of tattoo artist, it’s a fantastic way to make your customers 100% satisfied through flawless tattooing.
We begin with the list of materials required for the process. Further on, you’ll learn full, clear-cut instructions on how to make a tattoo stencil at home using these materials.
#1. Step 1 – Sketch and Practice your Design
This step is a stepping stone to freehanding. With all the required materials and equipment in place, you can now start practicing by sketching your design freehand on regular, plain paper till you get it perfect. Or, if you’ve already got a design printed out, you may move on to the next step as you already have something ready to trace. In either situation, your freehand-sketch or printed design should have outlines that are bold enough to be seen through the transfer or wax paper.
#2. Step 2 – Trace Onto Transfer Or Wax Paper
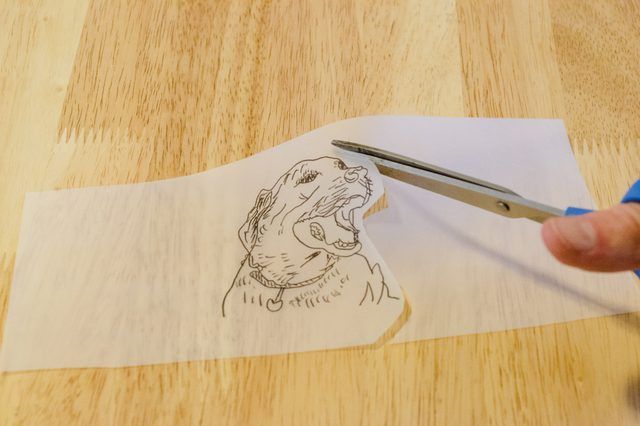
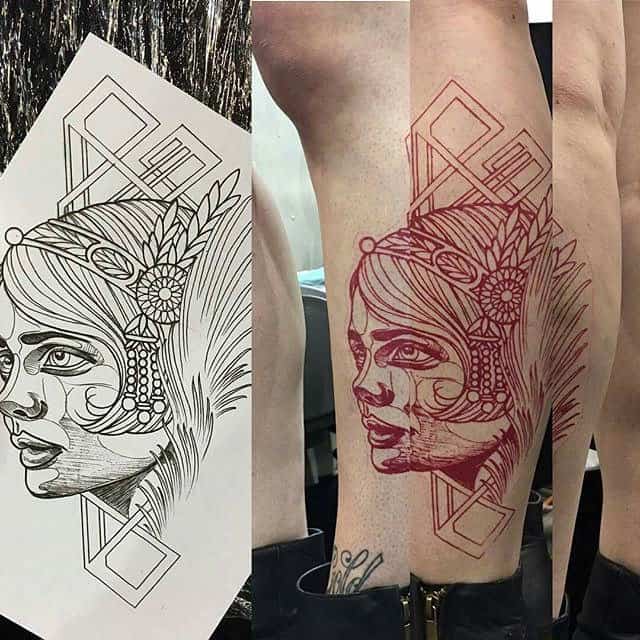
Once you’ve sketched a design you’re happy with or printed one you possessed or found on the internet, to your satisfaction, the next step is to trace it onto the transfer or wax paper. To do the tracing, place the transfer paper right above your final design print and use the ink pen to carefully trace the design onto the transfer paper.
While tracing, however, you should ensure both your design sheet and the transfer paper placed over it are held still on a smooth and solid work surface. To prevent the design and transfer paper from moving, use the masking tape to tape down the edges of both sheets of paper. The quality of the masking tape should be an easy-to-remove one so that the transfer paper doesn’t get damaged while removing the tape.
Once you’re done tracing, you may gently remove the masking tape. You can rest assured the design won’t be reversed or flipped. It will eventually be printed on your or your client’s skin the right way around.
It would help if you did the tracing over a surface that could illuminate the image. Examples of equipment that helps in that regard are drafting tables or desks fitted with a lightbox. Yet, if you don’t want to spend extra on such equipment, you can stick the design paper and the transfer sheet on a glass window. This way, the natural light would filter through, letting you see the image during daytime for tracing purposes.
#3. Step 3 – Transfer Design To Skin
With the above steps taken care of, your tattoo stencil is now ready for transferring the design onto the skin. Before that, however, the area of the skin should be prepared so that the design transfers properly. The area to be tattooed should be kept clean for both accurate transference and safety.
To begin with, the area should be safely shaved with a razor. After which, a recommended antibacterial soap and mild water should be used to clean the surface to be printed with the prepared stencil. Next, pat dries the area and apply the stencil lotion or a glycerin-based stick deodorant on the skin to help the stencil ink (the tracing) stick properly. Once the skin preparation is complete, you’re ready to apply the stencil ink.
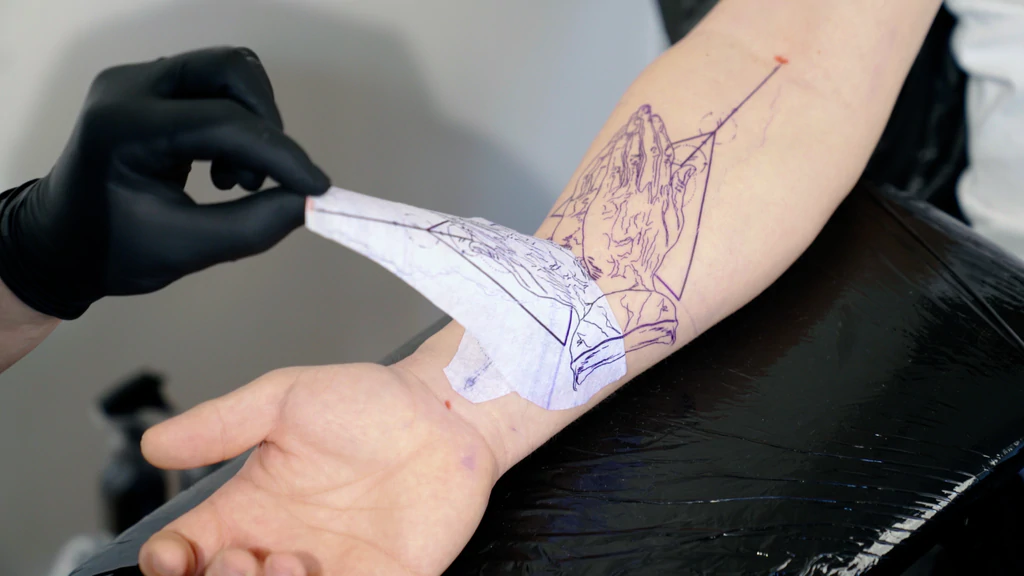
To apply the stencil ink, ensure the fluid side faces the skin. Then, carefully pat all areas of the stencil onto the skin ensuring no part is left out. Pat all areas of the stencil with little taps, and do not use rubbing motion since that will smudge the stencil ink. Now, leave the stencil on the skin for 2 to 3 minutes for proper transference.
After the 2 to 3 minutes are over, it’s time to slowly peel the stencil paper away from the skin. Following this step, the tattoo can now be inked by a professional tattooist using a top branded tattoo machine.
Materials You’ll Require
Getting all the required materials and equipment in one place before beginning is the perfect way to start creating the tattoo stencil. Furthermore, there are incredible inks and pens available that you can shop online for.
Here are all the things you’ll need for your tattoo stencil making journey:
- Transfer or wax paper
- An ink pen with a fine, pointed tip
- Masking tape
- Razor for shaving
- Antibacterial soap
- Stencil lotion or glycerin-based stick deodorant
Conclusion
In 3 easy steps, you learned how to make a tattoo stencil. Whether it’s your original, freehand art or someone else’s sourced from the internet, stenciling the design ensures utmost accuracy in the final tattoo outcome. On the whole, the tattoo stencil-making process is inexpensive and an easy part of the DIY tattoo procedure. Tattoo stenciling is an excellent way of ensuring whichever design you choose will be perfectly traced on the to-be-tattooed area. With practice, you’ll become more and more skilled. Who knows, before you know it, you’ll be able to freehand your designs like an expert!

 By
By


