
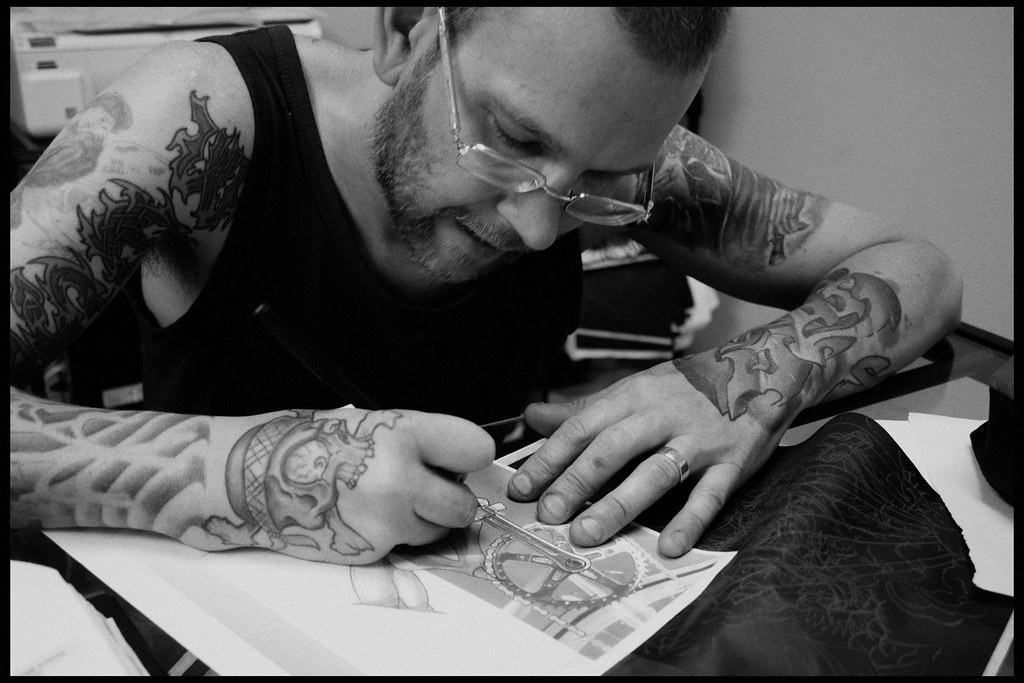
One of the initial difficult things about getting a tattoo is to decide what kind of tattoo you wish to get. After that comes the tough part of actually explaining to the tattoo artist the sort of design you want on your body.
There are two options here; the first option is that you draw it yourself and show it to your tattoo artist, and the second option is that you let the tattoo artist draw it for you.
The tricky problem of getting the design perfected on your skin, however, does still remain. How do you make sure the tattoo artist knows exactly what you’re looking for?
So, what do you do in such a situation?
Well, the answer to that is a tattoo transfer paper.
What is a tattoo transfer paper, you might ask?
Tattoo transfer papers are carbon copy papers that create an outline of your tattoo’s design on your body. It’s something used by tattoo professionals to turn your pencil tattoo design into the tattoo you’d get on your skin.
Remember the fake tattoos we’d get as kids? You can say that the effect is pretty similar. The most common answer to how to use a tattoo transfer paper is by employing a thermographic tattoo transfer paper.
But how does it actually work?
How can a design be transferred from a piece of paper to your skin?
How does one use a tattoo transfer paper?
If these are the questions arising in your head, then you have come to the right place. In this article, we will tell you how to use tattoo transfer paper, the different types of tattoo transfer papers, and more.
Different Types of Tattoo Transfer Paper
Before we get into how to use a tattoo transfer paper, let’s talk about the different types of tattoo transfer papers that exist. There are mainly two types of transfer papers: a hectograph or freehand tattoo transfer paper and a thermographic tattoo transfer paper.
Let’s dive deeper into the characteristics of these two kinds of tattoo transfer papers:
1. Hectograph or Freehand Tattoo Transfer Paper
A hectograph or freehand tattoo transfer paper is a manual transfer paper that resembles the sheets we use for manual typewriters or the carbon copy sheets that one can find.
There are three sheets to this paper, with each sheet serving different purposes. The top sheet is used for drawing the design. The second or middle sheet must be removed before you start drawing the design so that the tattoo design can easily get transferred to the third or bottom sheet.
After the design has been imprinted on the bottom sheet, it is then cut out and transferred onto the skin of the person who wishes to get the tattoo. However, there is some preparation that takes place before the tattoo artist applies this paper to your skin.
They start by applying stencil stay, which is a solution, on the individual’s skin so that the stencil can stay steady as the design is transferred. The tattoo artist then utilizes a damp sponge to dampen the paper so that the complete transfer of the design can take place. Once that is complete, they then remove the paper.
A hectograph or freehand tattoo transfer paper is usually more budget-friendly in comparison to thermographic tattoo transfer papers. There are also multiple colors you can find in the hectograph or freehand tattoo transfer paper category.
2. Thermographic Tattoo Transfer Paper
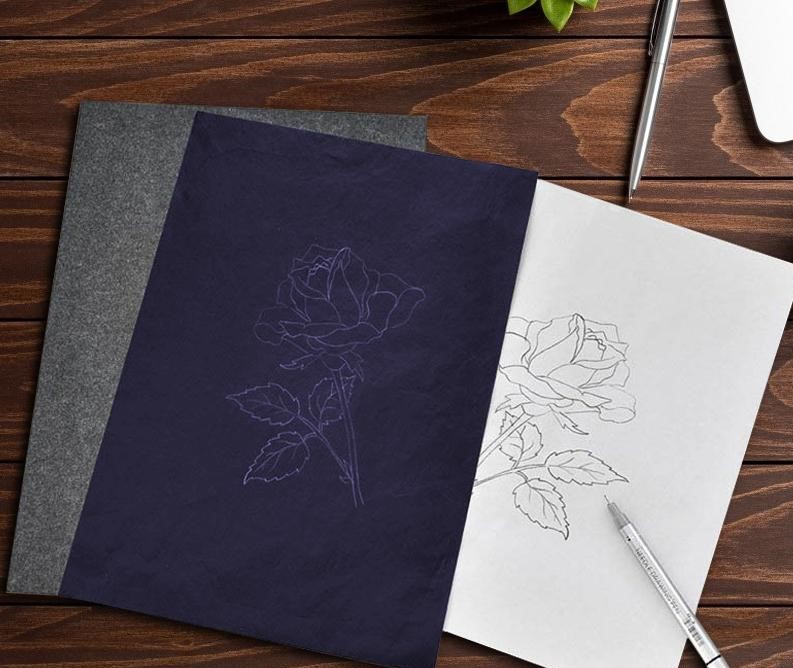
There are four layers or sheets in a thermographic tattoo transfer paper. In this kind of tattoo transfer paper, the design is transferred onto the top layer. The protective sheet placed on the top layer can then be thrown away.
Next comes the purple ink sheet layer, and lastly, the part that holds all the sheets steady together as you draw your design on it, which is the yellow bottom layer.
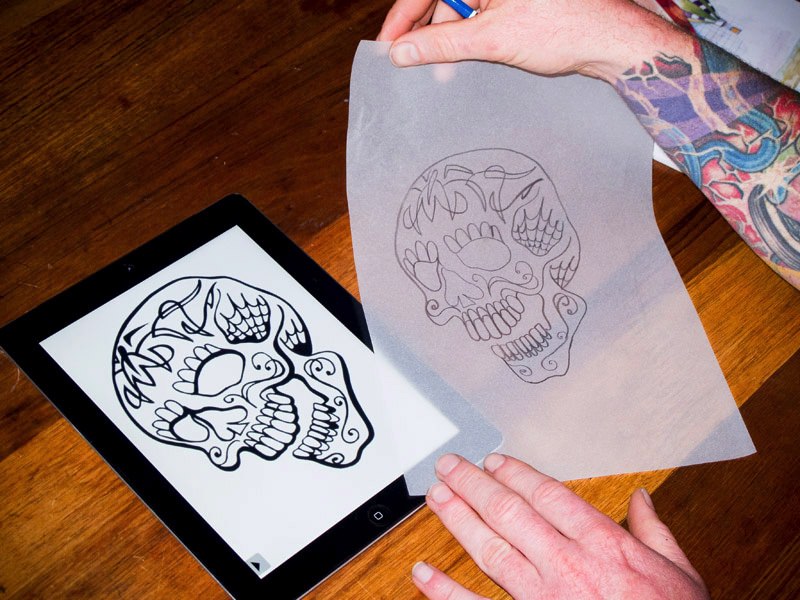
As you start to draw the design, you will draw it on a regular paper sheet. This sheet will then be placed between the purple and yellow sheets. All of these sheets combined will then go through the thermogenic transfer maker.
After this, the design gets transferred onto the top white sheet. As this is done, the last step left would be to place the sheet on the body surface where you intend to get the tattoo. Thermal tattoo transfer papers are used along with thermal printers, creating clear and sharp images.
This category of tattoo transfer paper is the most popularly used type among tattoo artists.
How to Use a Tattoo Transfer Paper Effectively?
Different methods can be used for the application of a tattoo transfer paper. However, thermographic tattoo transfer paper seems to be the most preferred method everywhere because of its efficiency and convenience.
Being the standard in tattoo industries worldwide: its popularity seems inevitable. So, if you’re wondering how to use a tattoo transfer paper, we’re here to help you out. Let us take you step-by-step through the whole process.
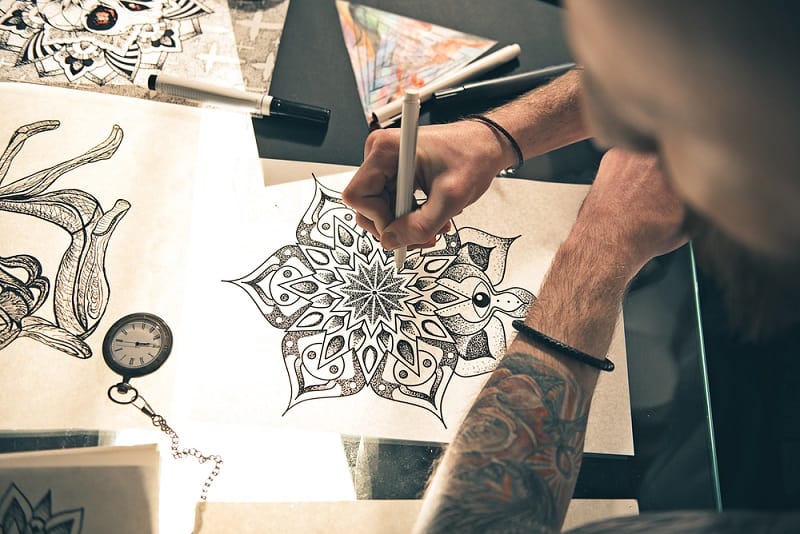
Step 1: Make the Design
In order to begin this process, the first thing you have to do is grab a regular white paper sheet to create your design. You don’t have to worry about making mistakes during this step. Modifications and improvements are implemented during this moment.
Before you move to the next step, ensure that you’re completely sure of and satisfied with the design because the exact design is transferred from the paper at this point. Give it time to make sure of its perfection.
Step 2: Place the Sheet on the Layers of the Thermographic Paper
Once you’re sure of the design, you need to then place it on the transfer paper. This design sheet needs to be carefully placed between the purple ink layer and the yellow bottom layer. Be very steady with this step as it determines if the design gets transferred to the top sheet properly or not.
Step 3: Get the Thermographic Transfer Maker
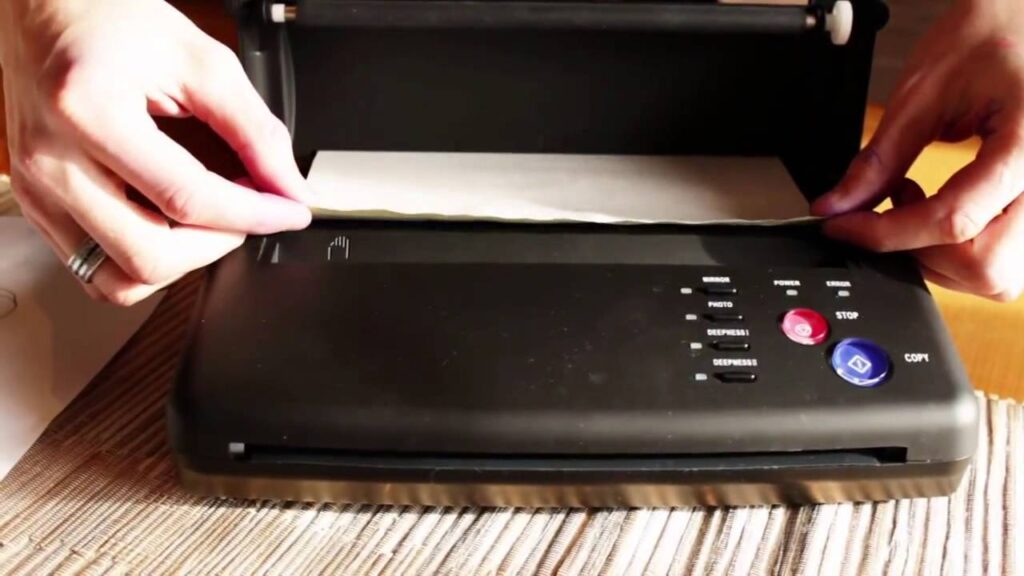
Knowing about a thermographic transfer maker is not common knowledge, as would be the case. However, in order for a thermographic tattoo transfer process to work, the presence of a thermographic transfer maker is imperative.
You can look them up in printer shops, online, or at tattoo parlors.
As soon as you have an efficient thermographic transfer maker with you, you can continue with the process. Take the sheets and insert them into the machine. Once the thermographic transfer maker begins working, the design will get transferred from the regular sheet to the top sheet of the paper.
Step 4: Detach the Sheets
After the design has been transferred, the next step is to separate the sheets. The top sheet where the design has been transferred needs to be detached from the other sheets. As this is the only sheet that will be used for the tattoo process, the rest of the sheets can be discarded.
Step 5: Transfer the Design
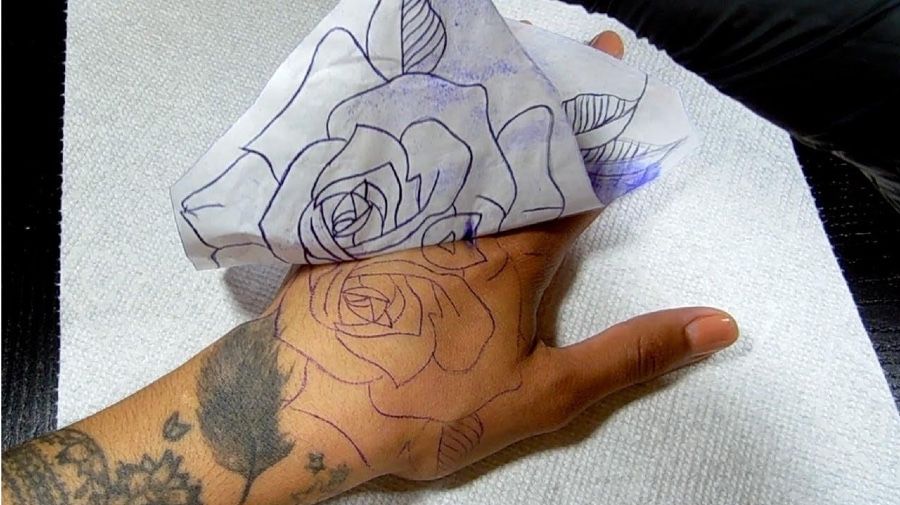
We now get into the final stages of the tattoo transfer paper process. Before the transfer of the design can be initiated, it’s crucial to dampen the area where you will be getting the outline of the tattoo.
Soap up the area and get it thoroughly clean and wet, post which you can place the design sheet on top of your skin. The sheet needs to be moved around so that it’s placed uniformly and doesn’t have any bumps or curves.
Keep pressing the paper down till you see the design on your skin. Removal of the paper, too, needs to be done gently and carefully. Take your time and be very gentle with it.
Once the sheet has been taken off, ensure that the design has been effectively transferred and is clearly visible on your skin. If you see that certain spots are missing, put the paper on your skin again and press it in. If you’re satisfied with the transfer, remove it from your skin, and you will be done with the process using the tattoo transfer paper.
Also Read: What is a Tattoo Blowout and How to Fix it?
How to Use a Hectograph Transfer Paper?
The process discussed above, as we saw, was with a thermographic tattoo transfer paper. However, we would also like to provide you with details regarding this process if you were to use a hectograph or free-hand transfer paper.
As it’s also known as the free-hand transfer paper, it automatically entails that in this process, the tattoo design is drawn directly on the hectograph paper’s first sheet.
Start by removing the middle sheet from the set of three sheets. The top layer of the sheet is where your drawing should be, which needs to get copied to the bottom sheet, which you can then cut out.
Use the stencil stay solution, which was discussed previously, to prepare your skin. Dampen this cut-out after placing it on the body part where you wish to get the tattoo. The last step is to take off the paper and ensure it has been properly transferred to your skin.
A hectograph or free-hand transfer paper is usually easier and more affordable to use. However, the quality provided is not as substantial as that of a thermographic tattoo transfer paper, which is why the latter is more preferred in the world of tattoo creation. Therefore, you can choose a method depending on your budget.
Conclusion
No matter which method you use for the tattoo transfer process, you may not be satisfied with the result. In such a situation, get a cotton ball and some rubbing alcohol, and use these to erase the design from your skin.
Repeat it till the design is no longer visible, and then use a gentle soap to clean the area. If your skin doesn’t feel irritated after this, you can choose to go through the process again.
We hope you now have more knowledge regarding how to use a tattoo transfer paper. You can choose either of the two types of tattoo transfer papers to complete this process because they’re both quite widely used and end up giving good results.
A thermographic transfer paper is usually the go-to option for most people; however, the costs associated with it can often act as a hurdle, given the involvement of the thermographic transfer maker.
The usage of a homemade and budget-friendly tattoo stencil would really not work in such a case. Hence, we suggest you give it some thought before deciding which kind of tattoo transfer paper you would like to go for.
Go through this guide and learn everything you need to know about how to use a tattoo transfer paper and everything else associated with it.

 By
By


