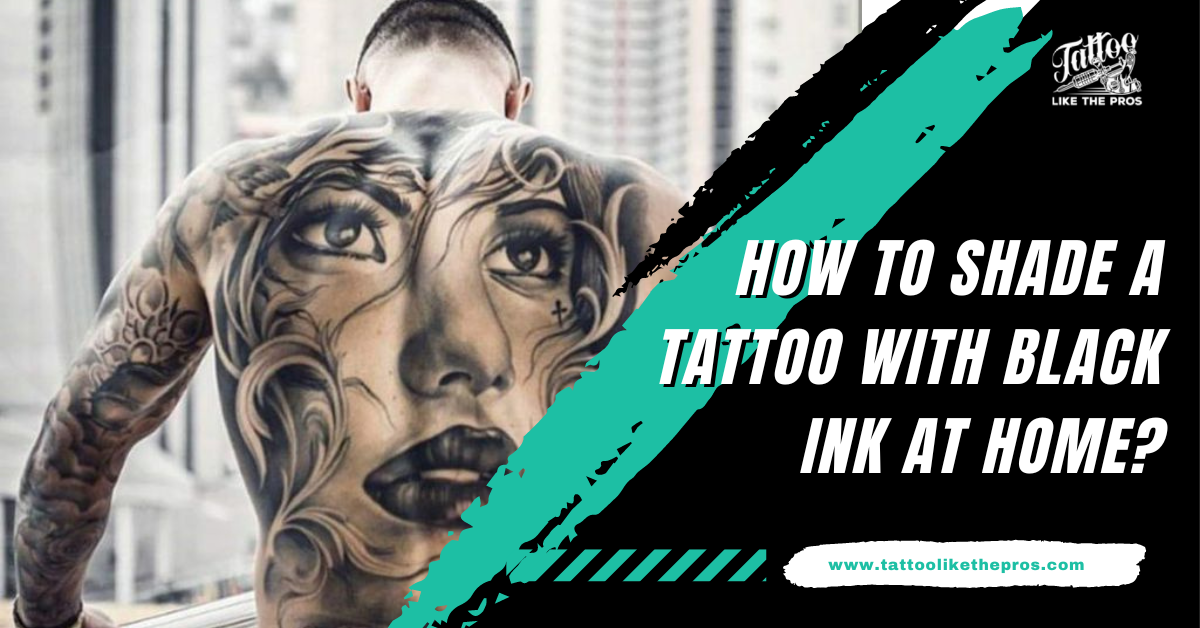
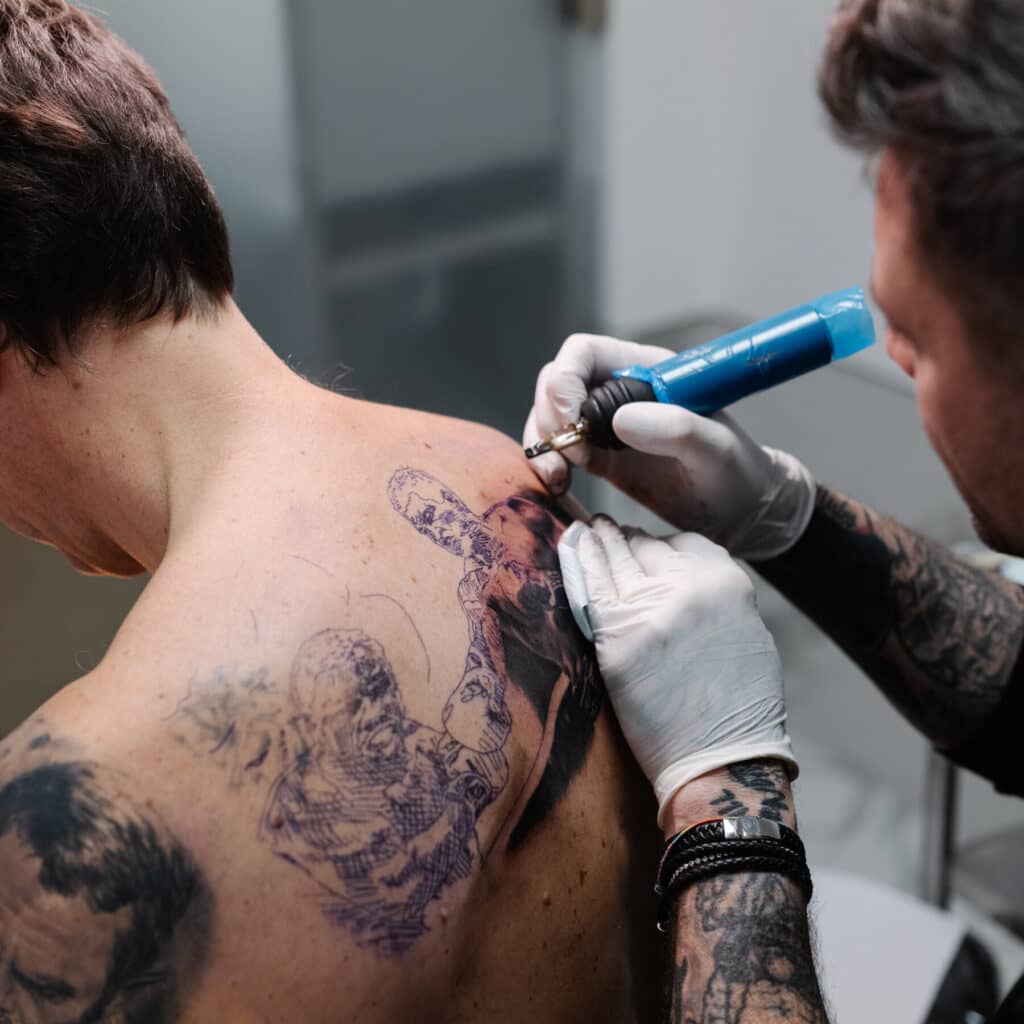
A good tattoo versus a great one: what’s the difference? It is the impeccable shading of the design.
Quality shading of the tattoo can easily cover up any mistake or even enhance the overall design. So, a question everyone needs to ask themselves is how to shade a tattoo.
Shading a tattoo can undoubtedly be a challenging task, which is why it is recommended that one connects with a tattoo professional for the same.
However, that does not mean one cannot shade a tattoo at home on their own – it is very much possible. You can take the following steps to learn how you can do that.
Bonus Read: 13 Tattoo Safety Tips To Keep In Mind When Getting A Tattoo
Different Tattoo Shading Techniques
Proper shading is essential for the tattoo to shine to its absolute best. However, before we go into the practice method, one must first learn about the various tattoo techniques used today.
Doing so is crucial for this process as not every tattoo is identical and would be optimal with different tattoo methods.
Choosing the correct tattoo technique can easily make a significant impact on the final result. Here are the top tattoo techniques that are widely used by professionals in the tattoo industry and are even recommended for in-house shading.
1. Brush Shading
Brush shading is a tattoo shading technique used for soft blending and portraits. It is precisely what they are used for. For this tattoo shading technique, one must use a long taper needle and then move it just like a pendulum applying ink at the desired angle.
It should be noted that the tattoo shading machine remains perfectly in place, with the grip rocking back and forth at the set angle.
The more the ink is distributed deeper in the skin, the darker the shade of the tattoo will be – something to keep in mind when using this technique.
2. Whip Shading
This tattoo shading technique is one of the versatile options a tattoo artist can utilize. They can be used on many tattoo designs and are extremely helpful for applying sketches and flowers.
A 3-round liner needle is recommended for this technique; however, you can also utilize any other needle.
In whip shading, the tattoo machine makes a quick and curve movement. The crucial point to note is the release of the pressure at the end of the movement, thus ensuring that the tip will appear lighter than the rest. It also ensures less damage to the skin.
3. Stipple Shading
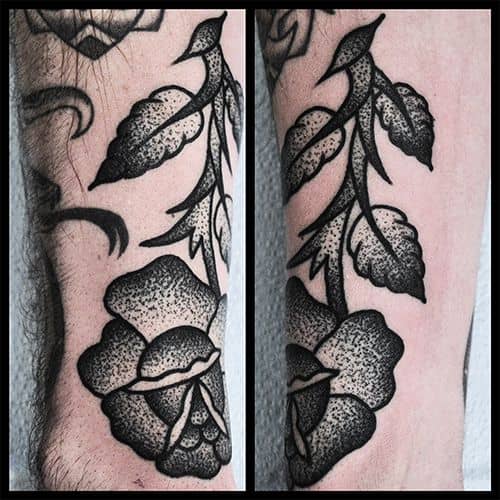
If one needs to apply dotted lines for tattoo shading, then the Stipple shading method is recommended. A 3-round liner needle is applied for this shading technique. It is used with a long taper to create a dotted line.
The voltage and hand movement play a crucial role in the final result of the shading. You must make quick movements if the voltage is high and you want the tattoo dots to be at a distance. Opt for a slow motion and a low voltage for closer dots.
Bonus Read: How to Tattoo: An Epic Step by Step Guide
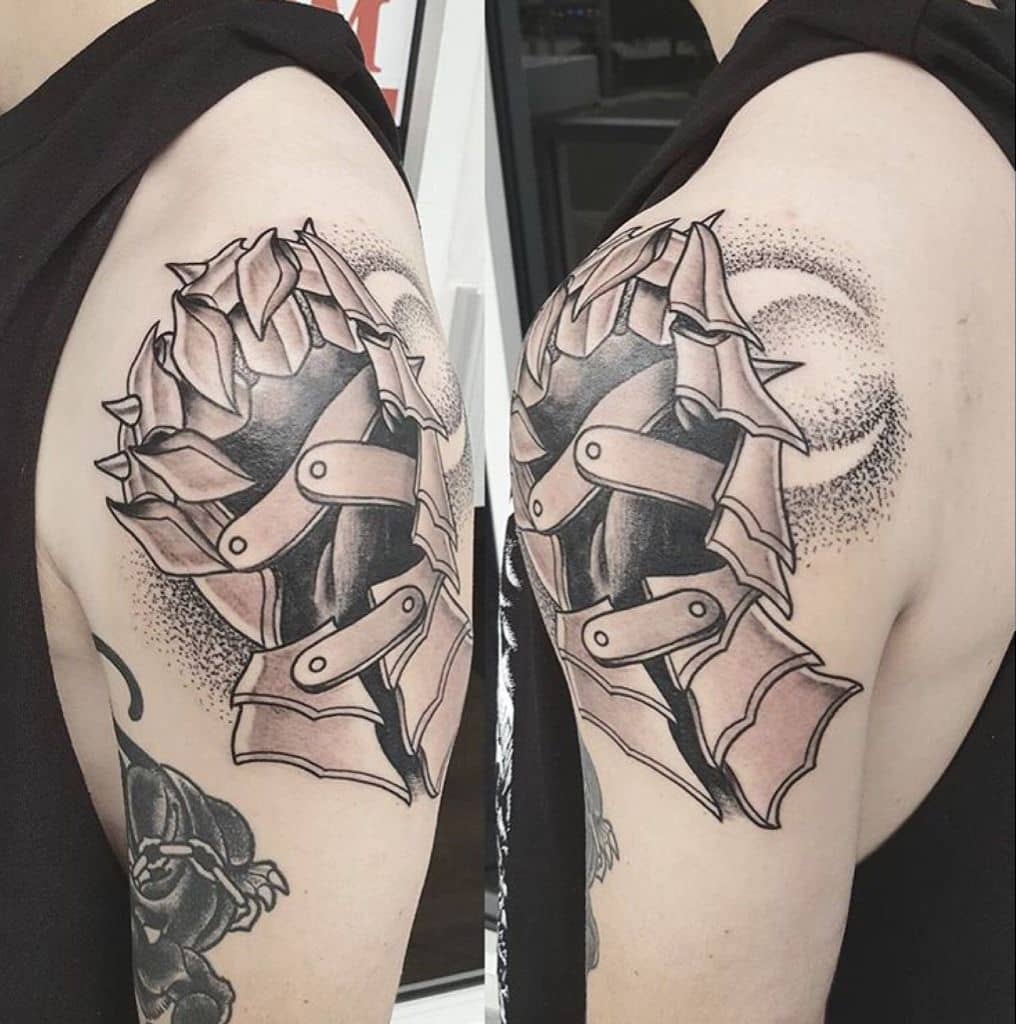
4. Packing
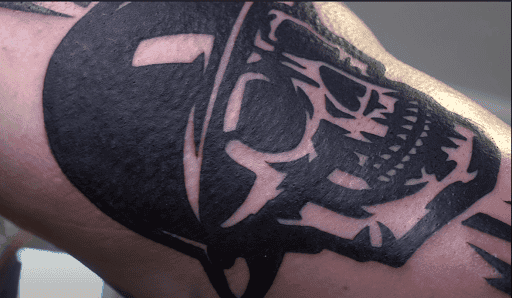
Packing is the most common shading technique when the desired result is blocks of solid color. The packing technique is performed using a magnum or round shader. The tattoo shading machine is placed at a 45-degree angle, slowly forming small tight circles.
The movement of the shading machine must be controlled and even for all spaces. It is also important that one does not leave the needle in one position for too long.
Tattoo Shading Practice Method
After learning the different tattoo shading techniques and even understanding which one you need for your shading, the next step of the process is not going straight to the shading but practicing first.
While it might seem a waste of perfectly good time, practicing how to shade a tattoo is quite beneficial – especially for those with no prior experience with the process. There is a reason why tattoo artists spend months and, in some cases, years learning their tradecraft.
So, before you start your tattoo shading project, you must practice the art of shading without suffering any negative consequences. Here is what you need to do to better shade a tattoo with black ink at home.
1. Start with Paper And Pencil
It is usually the first thing many tattoo artists learn in their training. Sure, there are better methods than this that will give a more realistic feel, but you must start with paper and pencil to get familiar with the technique.
Shading any kind of tattoo, regardless of how simple the design might seem, requires one to be good with sketches – so that is what you will need to do. Draw sketches on the paper, which will help you improve your shading technique. Only by practicing the movement and the speed of the same can you get the desired result.
2. Not Sure Where to Start? Search on YouTube
Now, if you have no experience with tattoo shading, you would not even know where to start. You can take advantage of YouTube to learn basic shading techniques for free.
No need to join any online course or anything such. Just search for a helpful channel and follow their lessons.
3. Practice on Pigskin or Fake Skin
Once you have become competent enough with the shading strategy on paper, the next step would be to practice shading on the pig skin. It is a crucial part of the process as only here would you get the essential practice and confidence to operate on human skin.
In case you are unable to use Pig Skin, then any synthetic human skin would do the job wonderfully. Its purpose is to give the user a realistic experience of shading on the skin before letting them do it in real.
You are also required to use the same equipment, including the shading machine and the needle you will use for your shading requirement. Doing so will allow you to be better comfortable with the kit.
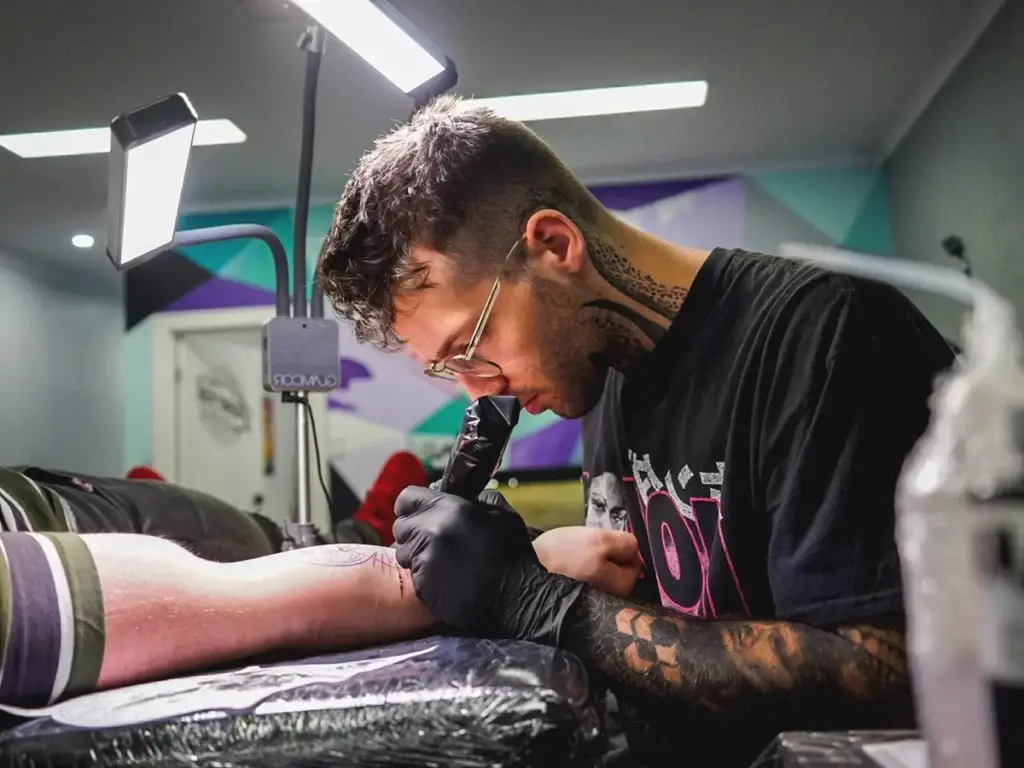
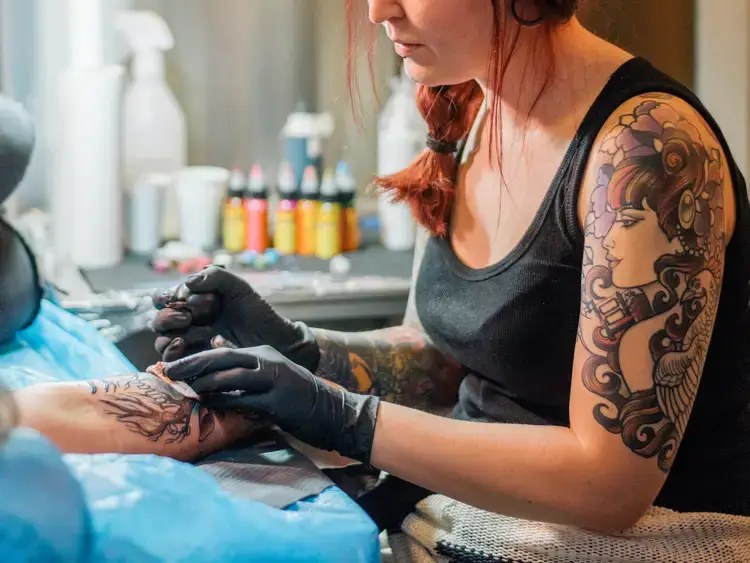
Steps on Tattoo Shading on Your Skin
Finally, we are at the final step of the tattoo shading process, applying the tattoo shading on your skin. It is vital that you have followed the above-listed steps to the letter and have not jumped straight to this section.
Doing so would have serious consequences, not just concerning the tattoo shading, but you could seriously hurt yourself.
Now, let’s get on to the steps of shading a tattoo with black ink at home.
Step 1: Choosing the Design
This process’s initial and most crucial step is choosing the tattoo shade design. Without a clear picture, one cannot start the process. So, the first thing you need to do is sketch the desired outcome.
Now, you can take inspiration from many tattoo designs that can be found online or even completely copy them if you wish, but it is crucial to have a hard copy in your hands to look at the reference while doing the shading.
Even with a copied design, it is advisable to sketch by hand. Many professionals would skip the step and utilize the printed copy, but we would not recommend that you do the same.
You would need to understand the tattoo design intimately, and creating a handmade sketch will help you with that.
You must also factor in the light and shadows during your sketch. It is a common mistake many beginners make and should be avoided at all costs.
Imagine hypothetical lighting on the tattoo, then create a shade accordingly. And if your tattoo has different colors, try to complement them with shading.
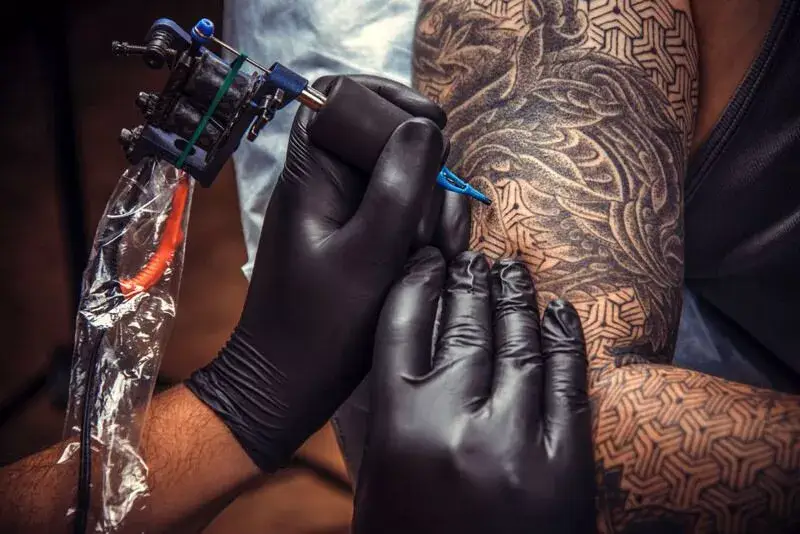
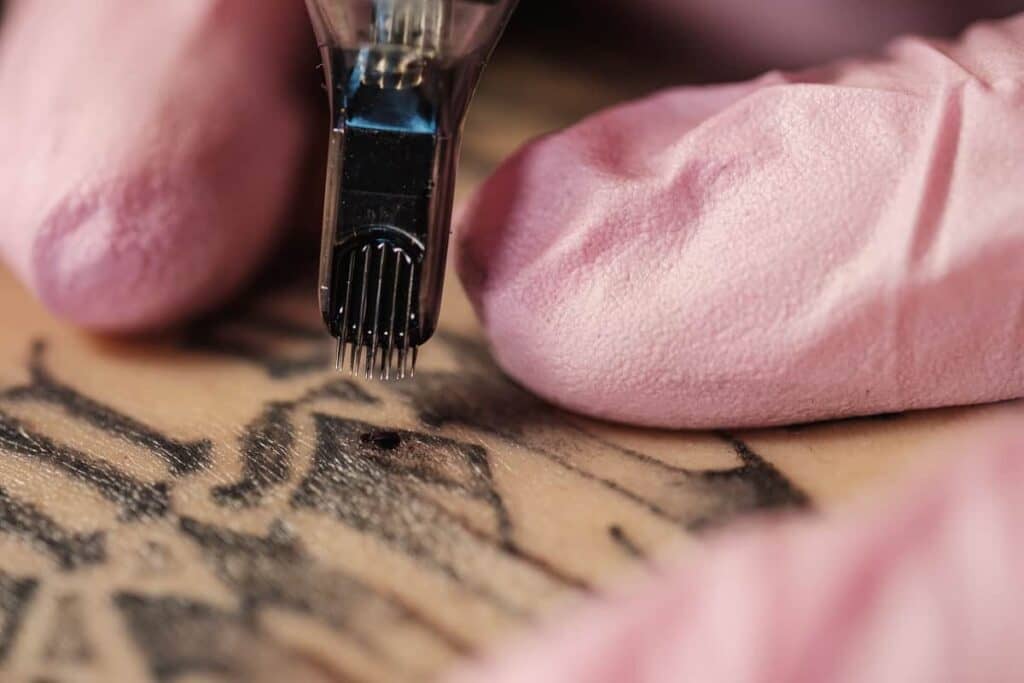
Step 2. Choosing the Correct Tattoo Machine and Needle Size
The next step of the process is choosing the correct needle size and then a tattoo shading machine for the project.
You cannot randomly pick any shading needles, as they all have different effects. If you are unsure about which needle you must choose for yourself, then make sure you consult with a tattoo artist first.
There is a fundamental difference in the effects of the shading needles. Take the case of larger needles, which give the user a softer shade compared to small-sized needles. On the other hand, if the color is your priority, then smaller-sized needles would be the way to go.
A thing to note here is that you should not opt for a needle with more than 1mm protruding.
Step 3. Select the Correct Speed on the tattoo Shading Machine
As mentioned earlier in the tattoo technique section, the tattoo machine’s speed is crucial in shading. The slower speed settings help the user get a lighter shade, whereas the faster speed on the shading machines results in a darker shade.
Depth of the needle is another thing that you must notice here. Depending on the tattoo shading design and the effect one is looking for, one might need to adjust the needle depth to get the best possible results.
Step 4. Prepare the Area
Before starting the tattoo shading, there is one more thing you need to do – clean the area properly.
It would be best to wash the area with soap and lukewarm water. Doing so will ensure that there would be no hindrance during the shading and that the site is rid of any grease, residue, or anything else of such nature.
Step 5. Adjust the Speed And Power Supply And Start the Work
Once you have set the appropriate speed, you only need the power on the machine and start the work. Use the proper shading technique that is suited for the finish you desire. Make sure you have done enough practice with the technique to get the best possible result.
If you are looking for a normal lining result, it would be best to go for a lower speed for shading. It is something that is recommended by many professional tattoo artists around the world.
Step 6. Keep a Time Gap Between Lining And Shading
You also need to take a rest and leave the tattoo area alone after the lining process. There is no point in hurrying over the project, especially one as complicated as this.
A 15-minute break between the lining and the shading process would be enough rest periods. It is also crucial to do this because you would want the lining to dry first.
Step 7. Work in a Circular Motion
For tattoo shading, you must start from the center of the tattoo area and then move outward. You also need to remember that for darker areas, you are required to put more pressure, and for lighter shading, you need to release the tattoo shading machine.
Step 8. Wipe off the Excess Ink
After clearing an area, you should remove unnecessary ink from the surface. Doing so will allow you to examine the work and correct any inconsistencies you might find right then and there. Repeat this throughout the process.
Step 9. Dilute the Ink with Water
If you require a more grayish gradient for your shading, or at least a lighter shade of black, you only need to dilute the black ink in water by simply dipping the needle. It will allow you to work on your project without changing the needle for a different color.
Step 10. Make Liberal Use of Vaseline or Any Other Tattoo Cream
Vaseline is quite handy for tattooing; the same applies to tattoo shading. Make liberal use of Vaseline at the end of the tattoo shading to protect and lubricate the skin.
Step 11. Clean the Needle
Once you have completed the tattoo shading and wiped off the excess ink from the surface, the last thing you need to do is clean the tattoo needle and the shading machine.
Make sure you follow the above steps to the letter, and you will be delighted with the results.
Conclusion
Shading a tattoo with black ink at home might seem simple, but it requires careful thought and planning before one can confidently get started!
Now, if you possess the patience and the will to do so, we highly recommend that you follow the above-listed steps. If not, it would be best if you connect with a professional tattoo artist for your requirement.

 By
By


